Thursday 4 February 2016

NEW PAPERARTSY RELEASES 2016 LIN BROWN STAMPS


Hi Everybody!

This evening, over on the Paperartsy blog  we have Day 4 of the new stamp releases. Tonight, it's Lin Brown's turn. Lin has 4 new stamp sets and 2 stencils, mixing large, funky flowers and inspirational sentiments.
 ELB25

ELB26

ELB27

ELB28

Lin Brown


You could visit Lin's blog too, for more inspiration, and to see her beautiful designs.

I was soo.... excited to be invited onboard as a member of Lin's team to showcase her new releases, and totally loved the experience of playing with these fantastic floral fancies.

I made a few projects to go with the new stamps and stencils, and will post some step by step instructions over the next few evenings.

Meanwhile, here is tonight's video of Lin's releases. Enjoy.

()


Here are some of my own takes on Lin's fab stamps & stencils, which I will post with some step by step instructions in over the next few evenings.


A big thank you to Lin & Leandra for allowing me this fab opportunity to take part in the launch of these wonderful new stamps & stencils.

Big hugs
Karen


Wednesday 3 February 2016

ITS BEEN A WHILE....


"Trust in dreams, for in them is hidden the gates to eternity"
                                                                                                  Kahlil Gibran


Gosh I didn't realise that it had been quite so long. Doesn't time fly and all that.
 
Thought  I'd post a few pics from a class I taught last summer. The design and technique was inspired by a Gabrielle Pollacco You Tube video I'd seen. This is the finished canvas framed. I'ts a pity that you can't see more of the beautiful lustre in the picture. I'm not the worlds best at taking them 


Apply Grunge Paste through stencils onto a gessoed canvas


When dry cover canvas with another layer of gesso


Embellish canvas with gessoed die cut shapes and findings


Spray canvas with mica mists. I used a variety of different makes including some I had mixed myself. Don't be afraid to use some darker mists to create shadow and contrast.


Pick out some areas on your canvas that you wish to highlight and give them another coat of gesso. I then used a combination of acrylic paint, Treasure Gold and the mica sprays, ( this time applied using a brush ), over the highlighted areas


The ladies and gents who came along had a great inky, painty day, helped along with homemade cream scones and chocolate biccies. Below are just some of the finished canvases


Thanks for stopping by
 
Big hugs
Karen


Thursday 23 August 2012

Melt Art


Yay
 
I've booked my place on Lin Brown's Melt art Class in December.
Now that there are to be no more Artsycrafts weekends this is the next best thing
 
Lin's work is an amazing and although I've been to one of her melt art classes a couple of years ago, I know that this class will be crammed full of fab new ideas and techniques.

The photo's below are from Lin's blog.
Don't they look absolutely fab.


This is the beeswax and Pan Pastel canvas that we are going to make on the second day.
I'm soo... looking forward to it.


Checkout some of the other photos from the upcoming class on Lin's website here
 
 
Came across this today when I was tidying. I made it at an Artsycrafts weekend some time ago but never got round to posting pictures of it.


Would love to show you the rest of the photo's but Blogger isn't playing the game. It has already taken 2 days just to get this far!!
 Grrr.
Technology drives me round the hat rack.
 
Anyway, off I go to Craftworld to create the samples for the new classes which start at the beginning of September.
Hope to see you there.
 
 
Big hugs
Karen


Sunday 19 August 2012

Peeloff Heaven


"If you're not living on the edge,
you're taking up space"


After a comment form Ruth, thought that I'd share with you a Christmas decoration and a batch of cards I made using peeloffs.  

Although I'm not a big fan (I prefer to stamp), there is a place for them especially if you are making over 100 company Christmas cards.


My favourite way to use them as a mask.
You can do this with a variety of media, including Pan Pastels, Inks and paint.

For this decoration I used the peeloffs with Viva paint.


Separate the two halves of the clear globe and give the inside a couple of coats of matte black acrylic paint. Allow to dry completely before putting them back together.

Apply the peeloffs to the outside of the globe, gently tweaking and cutting to allow them to adhere well to the surface.

Use cut and dry foam to cover the globe with the Viva acrylic paint.

The peeloff was removed before the paint was completely dry, (leave it too long and it will not give such a clean outline).

When you remove the peeloffs the silhouettes appear beautiful and glossy,(hence the reflections seen in the camels).

This technique works especially well with peeloff sentiments or letters.
Why not use them to personalise the ornament with a name or a date.

Although the paint is permanant, it doesn't hurt to seal the surface with a spray sealer.


Have fun


Big hugs
Karen

Thursday 16 August 2012

Pan Pastels


"Hold fast to dreams, for if dreams die,
Life is a broken winged bird that cannot fly"
                                                                    Langston Hughes


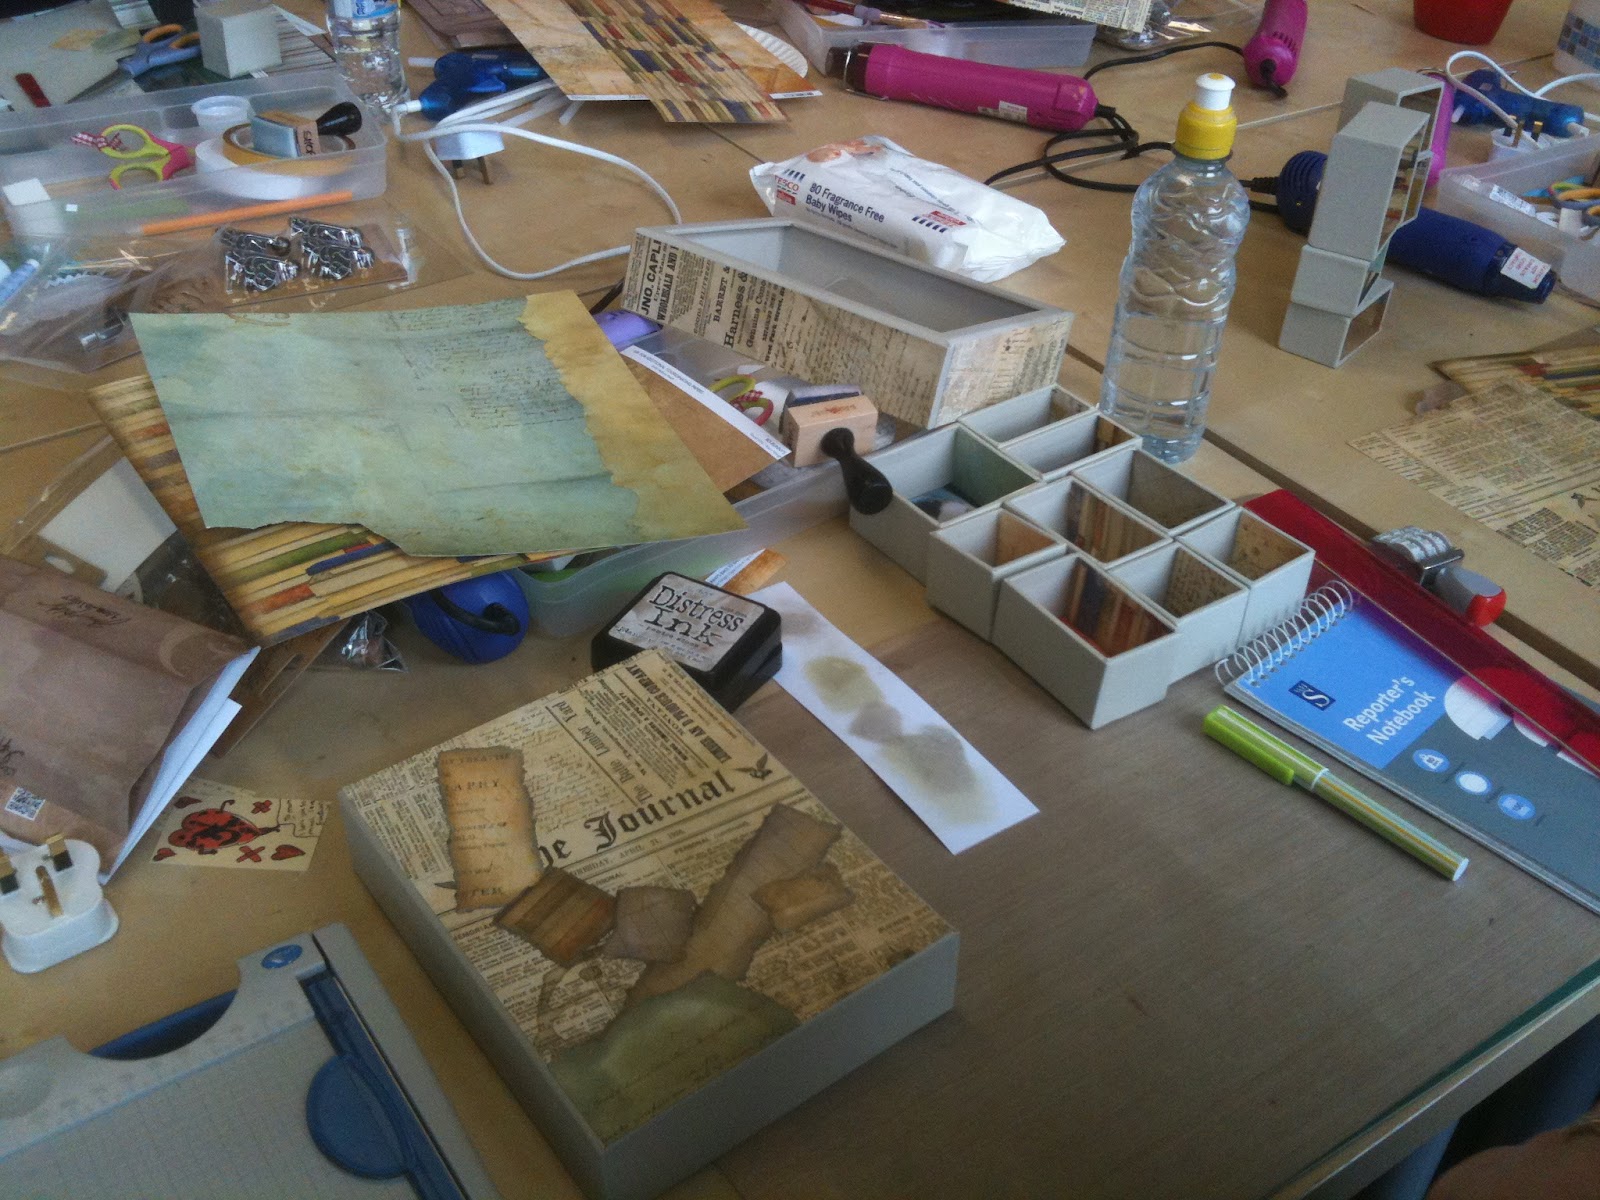
 Yay, finally had a chance to play with the Pan Pastels that I bought at the start of the summer.
They are sooo... easy to work with, and not nearly as messy as ink.
Gaynor asked if I would demo them at Craftworlds demo weekend, which this year is on the 29th & 30th of September.

So down went the decorating tools and out came the pastels and sponges.
What a fab medium to work in. Unfortunately the light wasn't so good by the time I came to photograph it.


I decided that for a first attempt I would keep to the basics and only use a couple of colours, (Yellow Ochre and Red Iron Oxide).


The cardstock I used was Southfield High White 290gsm, and although it feels smooth to touch, it worked really well with the pastels. One load of the sponge, with Yellow Ochre, was all it took to give beautiful, even coverage over the tag, without the dreaded lines or splodges. Not at all like using chalks, (or inks). It seems almost creamy in texture but there is no drying time and little or no dust.


Versamark ink was applied through the Crafters Workshop stencil using a piece of Ranger Cut and Dry foam. After the stencil was removed more Yellow Ochre was applied this time using the knife tool with the oval cover. The tools allow for  easy and accurate placement of the pastel on the inked areas.


Although covered with Yellow Ochre, the stencilled circles remained tacky enough to accept the Red Iron Oxide, which I applied and blended with the same tool.
The numbers are another Crafters Workshop stencil, through which the Yellow Ochre was sponged using the round Angle Slice art sponge.


A flick of Titanium White was added to highlight the circles. Any mistakes can be easily remedied by using an ordinary eraser. As the pastels are not permanent, they need to be "fixed" using a pastel fixative. You can also use hairspray, but some of these can leave a sticky residue and alter the colour slightly.


I then added some script to add yet a little more depth to the background. You could use a coloured ink, but I chose to ink the stamp with Versamark and apply some Phthalo Blue pastel on top.
The tag was then lightly sprayed with fixative before stamping the main images in Black Archival ink. If you don't fix the pastel before stamping the main images, they tend to turn out patchy as the pastel sticks to the stamp and lifts off of the tag.


The stamps are all Tim Holtz and the photo corner is a Sizzlits die.
Findings courtesey of Primark!


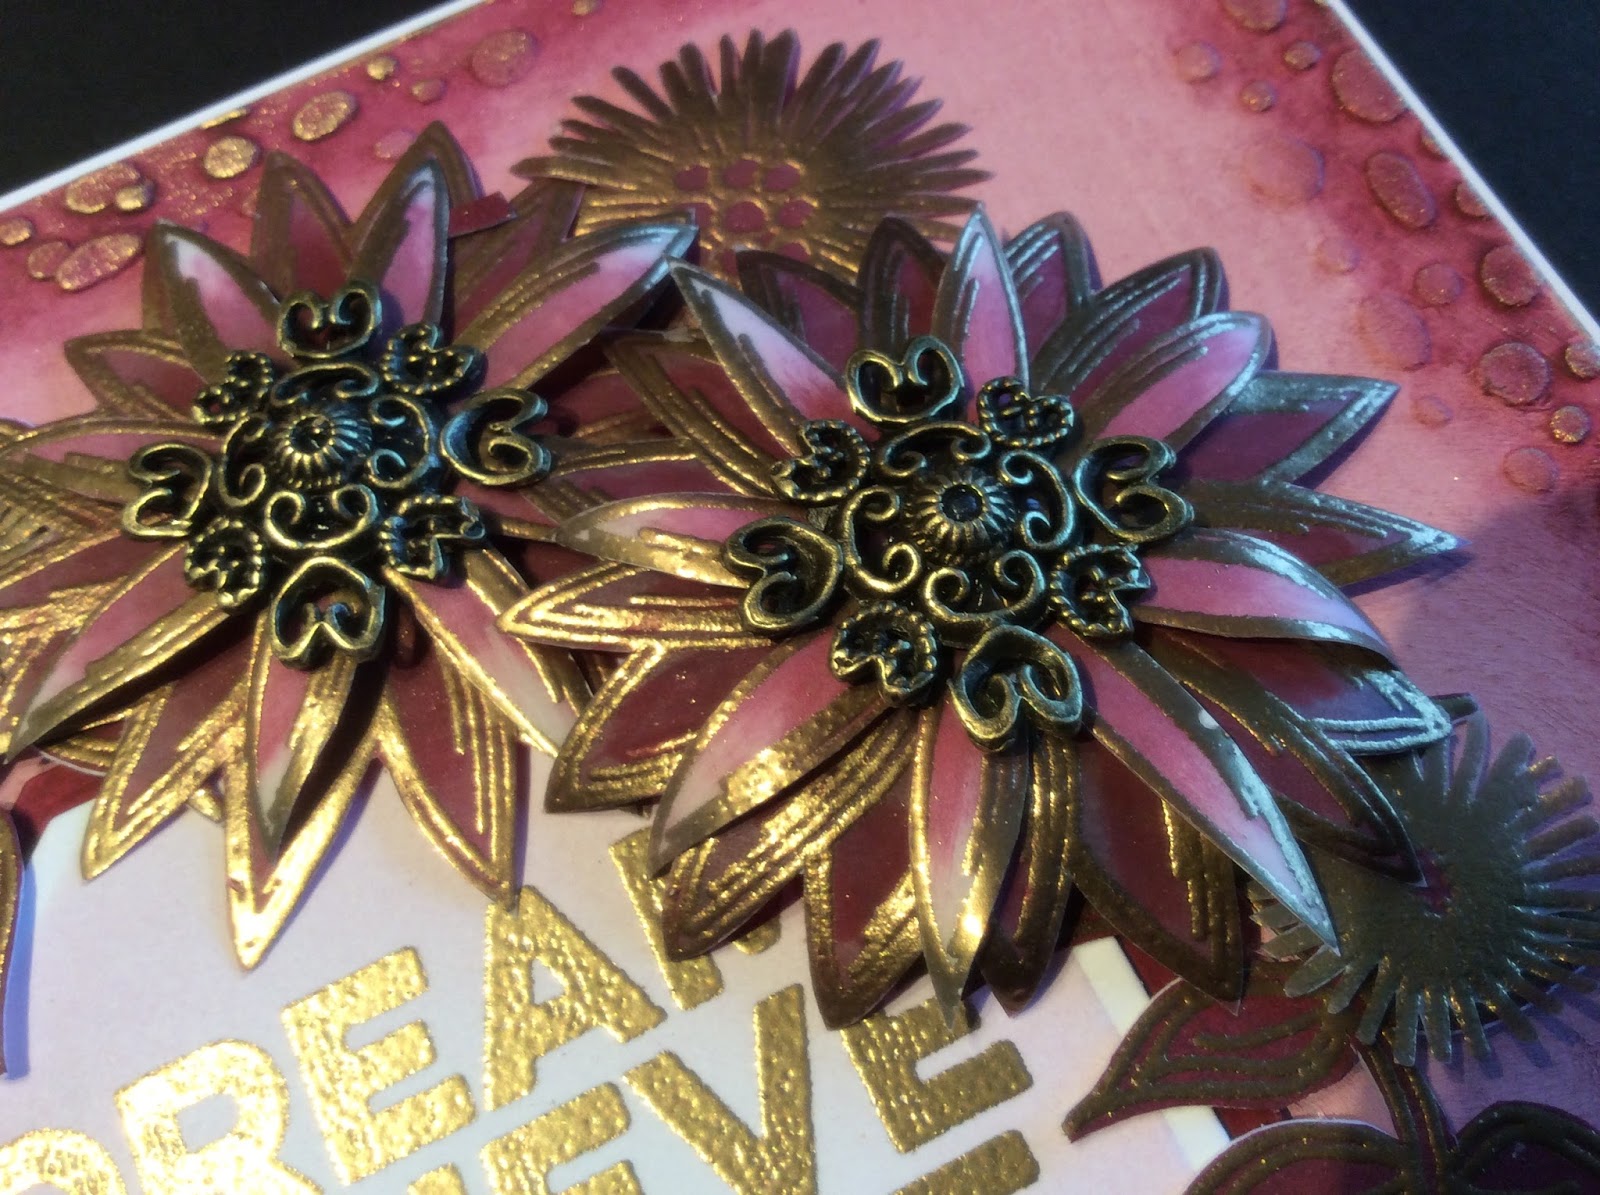
Another couple of practice pieces.


I especially love all the layers on this one.


All that and clean hands too!!!

Time for a rest in front of the telly methinks.

Thanks for looking


Big hugs
Karen


Saturday 11 August 2012

But what if.....


"The bad news is time flies.
The good news is that you are the pilot."
                                                                  Michael Altshuler


                                                             ......you keep crashing the plane?


Still no time for crafting.
 By the time the sproglets go back to school and the other house is decorated I will have forgotten how to craft!
Still mustn't complain. The weather is beautiful and the Olympics have been fab. Have been very proud of all our athletes.

So today's crafty piece is another blast from the past.
 It was inspired by three massively talented ladies Linda Cain , Wendy Vecchi and Hels Sheridan.
I saw something very similar on one of their blogs and decided to have a go.


The background was inked with Distress Inks Wild Honey, Shabby Shutters and Faded Jeans using Cut and Dry foam.

I made a foam stamp using the Tim Holtz Elegant Flourishes die from Sizzix. Then spritzed it with water and stamped randomly over the background, drying with a piece of kitchen towel as I went, to achieve the lovely watermark effect.
Sentiment- Good Thoughts from Stampers Anonymous inked with Black Archival

When dry, it was over stamped with Autumn Leaves flourishes (my all time favourite set of flourish stamps) in Wild Honey.

The next layer up is Mini Ornamental from Tim's Movers and Shapers range. I cut it from Grungeboard and inked it with Wild Honey. The birdcage was stamped in black Archival with the little bird stamped on to shrink plastic (Stampers Anonymous Artful Flight).

The flowers and flourishes are a combination of Bigz and Tim's Alterations dies, (Decorative Accent #10, Tattered Florals and Gadget Gears), inked with Faded Jeans, Bundled Sage and Fired Brick Distress Inks.
Finally they were over stamped using Big Plaid (Stampabilities) and Polka Dots (B Line Designs)


Anyhoo must be off to finish painting the ceiling (has only taken me 4 evenings to put up the coving!!!), after which there are only 5 more rooms and the hall to go :-(


Big hugs
Karen


Monday 6 August 2012

I can see clearly now


"Obstacles are those frightful things you see
when you take your eyes off your goal."
                                                                Henry Ford


This definitely describes what happens to me. Not so much when I was younger, but now....
So today's plan is not to take my eyes off the goal, (of which there are several!!!), and to push aside any of those nasty obstacles that threaten to derail my plans.

The Sproglets visited The Cookschool @ Stepwell last week and learnt to make Minestrone soup, Pizza and hot chocolate. As proof of their new found culinary skills I asked them to recreate the menu for us all.

Hmmm.

All I can say is that Allison (their teacher) must have have had the patience of a saint.
Still after almost 4 hours of chopping, weighing, mixing and kneading we had a fab meal set before us. Wish I had taken some photos of the pizzas but they were scoffed as soon as they appeared from the oven.

Washing and chopping


30 minutes to chop 2 cloves of garlic!


Finished article


I still haven't found any time to craft so having wrestled the laptop from the Sproglets I will show you photos of the second configurations box made for the class at Craftworld.

I'm not sure which one that I like the best.


Maybe I'll go try make something today, if I can get round the obstacles!!


Big hugs
Karen

Related Posts Plugin for WordPress, Blogger...
free counters